Adding a State to an ECC
You can add a state to an ECC by using the Add State→New... item of the ECC workspace's popup menu (the menu that you get by clicking the right mouse button on an empty area of the workspace).
If any event inputs are available for the construction of a simple EC state, their names will be listed under the New.. item. Selecting one of these will immediately produce a new simple EC state with the given name.
Deleting a State
You can delete a state from an ECC by using the Delete option of its popup menu. Since this will also delete all transitions to or from the state, a dialog box will pop up to give you a chance to cancel this action.
The EC State Dialog
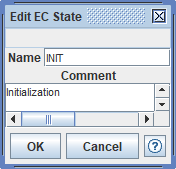
You can use this dialog both for adding a new state to an ECC or for editing an existing state. You invoke it by clicking the Add State popup menu item of an ECC, or by double-clicking an existing EC state.
You can close the dialog without making any changes to the state by
pressing the Cancel button or the  button in the upper right corner of
the dialog. If you press the OK button (or the Enter
key while entering data), and no errors are detected, the requested
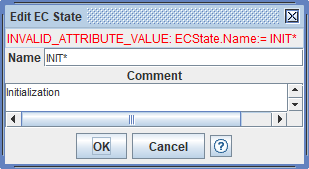
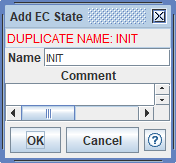
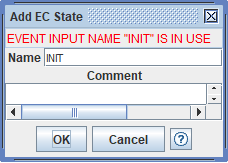
changes (if any) will be made and the dialog will close. If an error
is detected when you press the OK button or the Enter
key, the dialog does not close and an error message appears at the
top line of the dialog, for instance:
button in the upper right corner of
the dialog. If you press the OK button (or the Enter
key while entering data), and no errors are detected, the requested
changes (if any) will be made and the dialog will close. If an error
is detected when you press the OK button or the Enter
key, the dialog does not close and an error message appears at the
top line of the dialog, for instance:
Re-ordering the List of States
You can change the location of a state in the textual list of states by selecting a state in the ECC and moving it up or down in the list with the Promote/Demote function of the Rosette.
The first non-simple state (if any) in the list of EC states is the initial state, shown by a double outline around the state name.